
Understanding Box Grades and Material Thickness
Different corrugated grades serve different purposes. Learn how to choose the right material for your packaging needs and budget.
Read ArticleWhat happens between your design concept and production. We break down each stage of creating custom die-cut packaging, from initial specifications through final cutting and finishing.
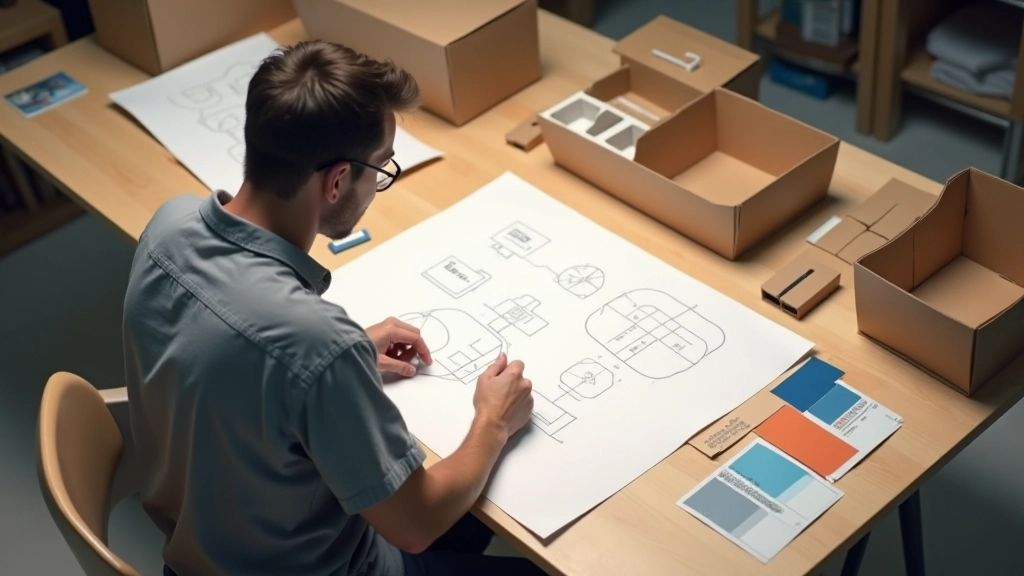
Custom die-cutting transforms a flat sheet of corrugated cardboard into a precisely shaped box. It's not magic — it's a carefully planned process with multiple checkpoints. Whether you're ordering boxes for fragile electronics or irregular-shaped products, understanding how die-cutting works helps you get better results and avoid costly mistakes.
The journey from your sketch to finished boxes involves design files, physical tooling, and production runs. We'll walk you through each stage so you know what to expect when you order custom die-cut packaging.
Everything starts with your design. You'll need either a sketch, reference image, or existing box you want to replicate. The more detail you provide, the better — dimensions, flap sizes, fold lines, window cutouts, and print areas all matter.
We'll create a CAD file (usually in PDF or DXF format) that shows the flat box pattern, called a dieline. This dieline includes every cut, crease, and fold. It's the blueprint for the physical die that'll be made from your design.

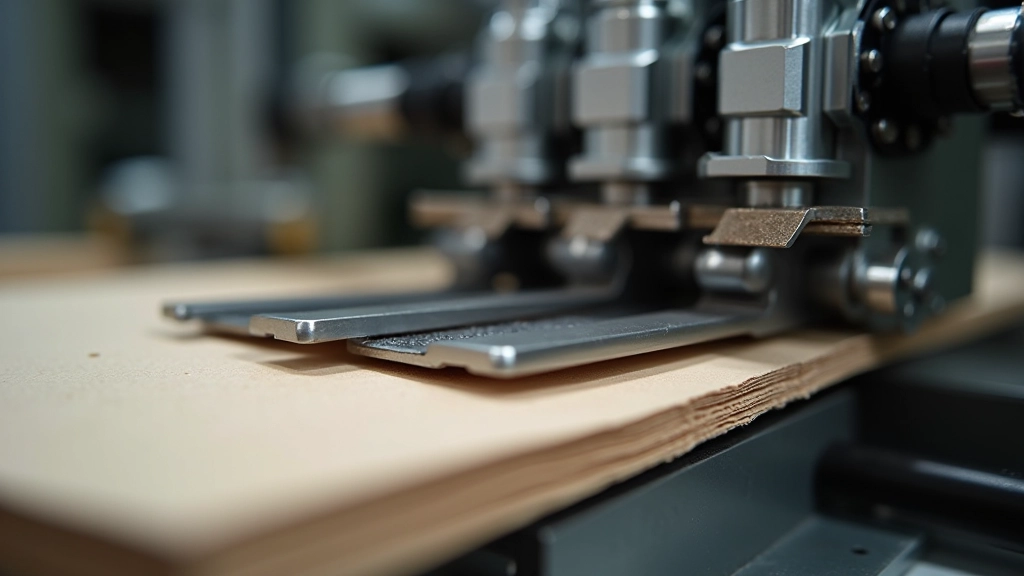
Once the dieline is approved, we manufacture the physical die. This is a steel tool with sharp cutting blades for cuts and rubber creasing strips for fold lines. The die is custom-made for your exact box shape and mounted on a wooden base.
Die quality matters. Dull blades produce rough edges and misalignment. Precision tooling ensures every box is cut to spec — and every box in your run looks identical. The die is reusable, so it's a one-time investment for repeat orders.
Tip: If you're planning regular orders of the same box design, investing in a quality die saves money on per-unit costs over time.
This article provides informational guidance about the die-cutting process. Actual specifications, timelines, and capabilities vary by manufacturer and equipment. Always confirm technical requirements with your packaging supplier before finalizing designs or placing orders.
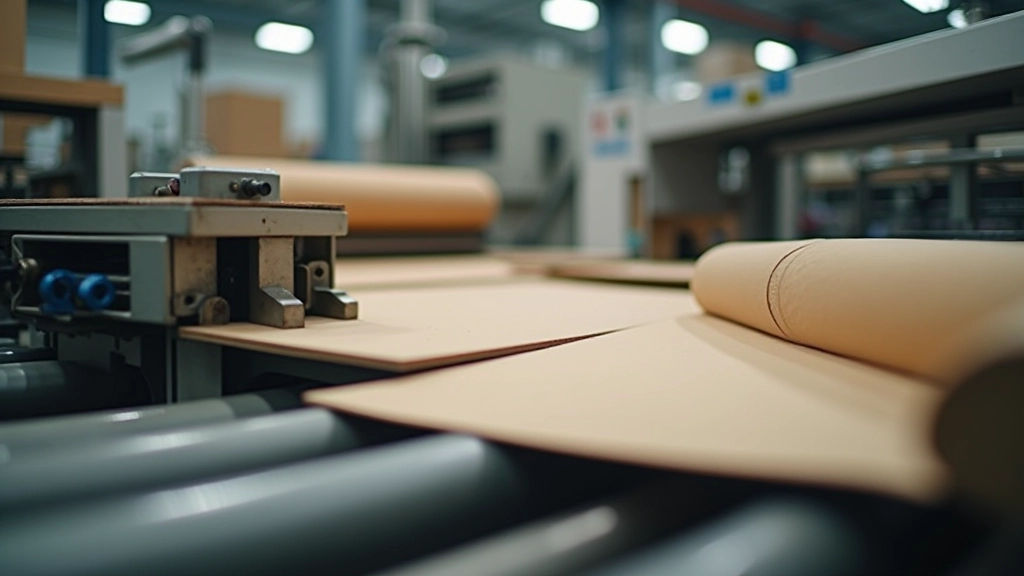
With the die ready and cardboard material selected, production begins. The corrugated sheets run through the die-cutting machine — either a rotary cutter for high-volume runs or a flat-bed press for smaller quantities. The machine presses the die into the cardboard with tons of force, cutting and creasing simultaneously.
Speed varies depending on your order size. A small run might take hours; large runs of thousands of boxes can happen in a single shift. The machine operator monitors for consistent cuts and adjusts pressure if needed.
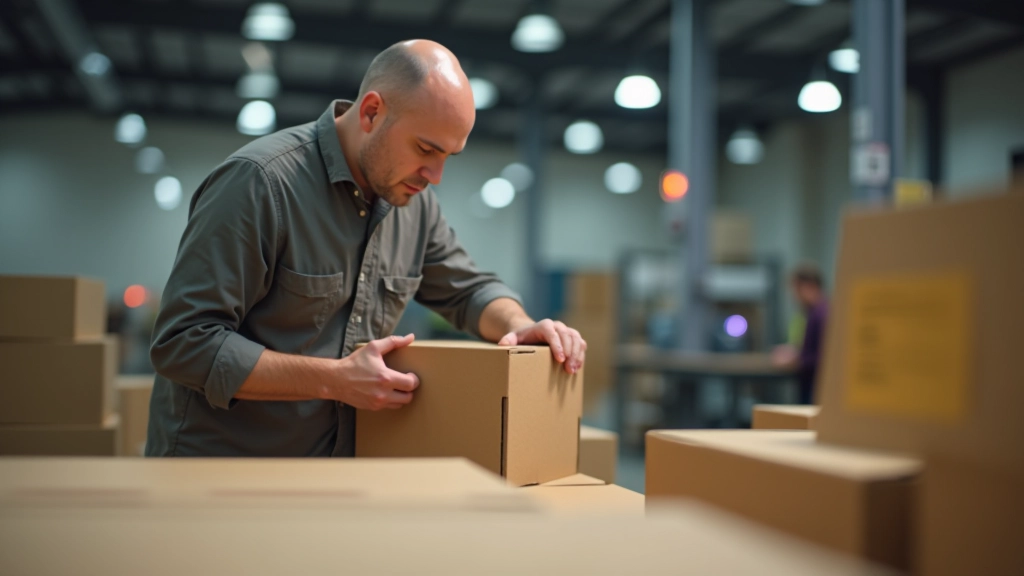
After die-cutting, every batch goes through quality checks. Operators inspect for clean cuts, proper creases, and accurate dimensions. Random boxes are measured to verify they meet your specifications. Any defects — torn edges, misaligned cuts, incomplete folds — get caught here.
Then comes finishing: boxes are stacked, strapped into bundles, and prepared for shipment. Some orders need additional finishing like gluing, printing, or folding before they're ready to pack your products.
Custom die-cutting isn't instantaneous, but it's reliable. The process takes time because each stage — from dieline design through die manufacturing to production and quality checks — requires precision. When you understand what's happening at each step, you can make better design decisions, order appropriate quantities, and plan your packaging timeline realistically.
Whether you're designing a simple straight-cut box or something with windows and handles, the fundamentals remain the same. Good design files, quality tooling, controlled production, and rigorous quality checks result in boxes that fit your product and protect it during shipping.
Ready to discuss your custom packaging project?
Get in Touch
Different corrugated grades serve different purposes. Learn how to choose the right material for your packaging needs and budget.
Read Article
International shipping demands rigorous standards. Here's what exporters need to know about compliance and testing requirements.
Read Article
Going green doesn't mean spending more. Learn how to balance sustainability with budget in your packaging choices.
Read Article